Adding custom codes to a WordPress website can seem difficult for beginners, but it’s actually a very simple process. In this blog post, we will show you how to add custom codes to your site in just a few easy steps. Whether you are adding a CSS code, Google Analytics tracking code, or any other type of javascript or meta verification codes, you can use the below method!
To make things simple, we have developed a WordPress plugin that is available for free from official WordPress plugins’ repository.
Step 1: Install the plugin
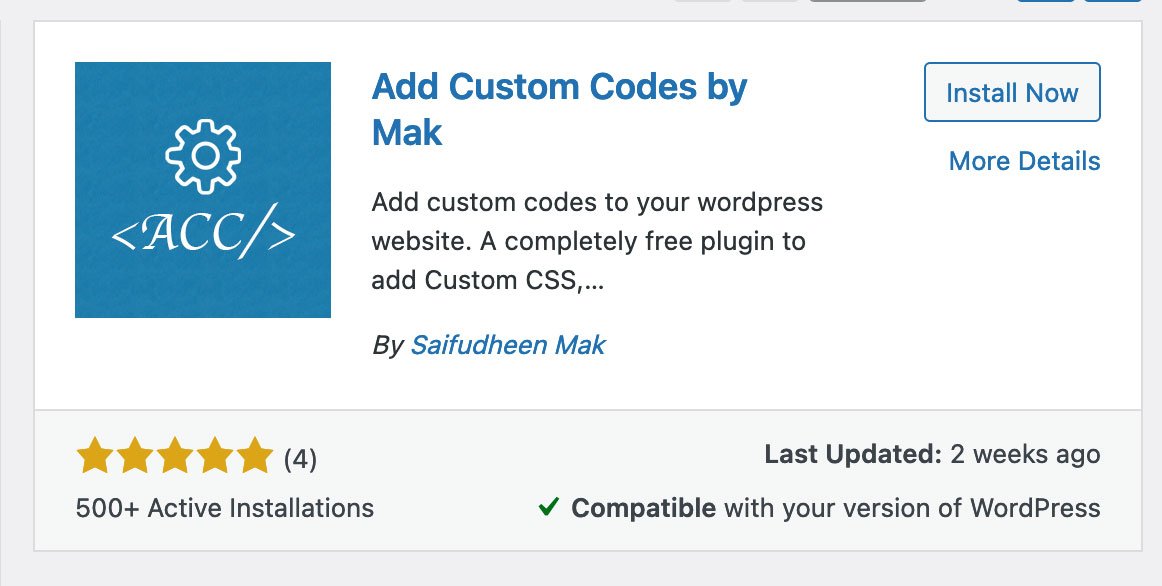
First, you need to install Add Custom Codes plugin on your wordpress website! Login to the WordPress dashboard and navigate to Plugins–> Add New and search for ‘Add Custom Codes’. You can now install the plugin below and activate it just like you do for other plugins.
Step 2: Start adding your codes
That’s it! Once you have installed the plugin, you can go to Appearance –> Add Custom Codes and you will see an interface to add your global codes. That means, if you add codes in this page, it will be available on all pages of the website. There will be 3 sections to add your codes.
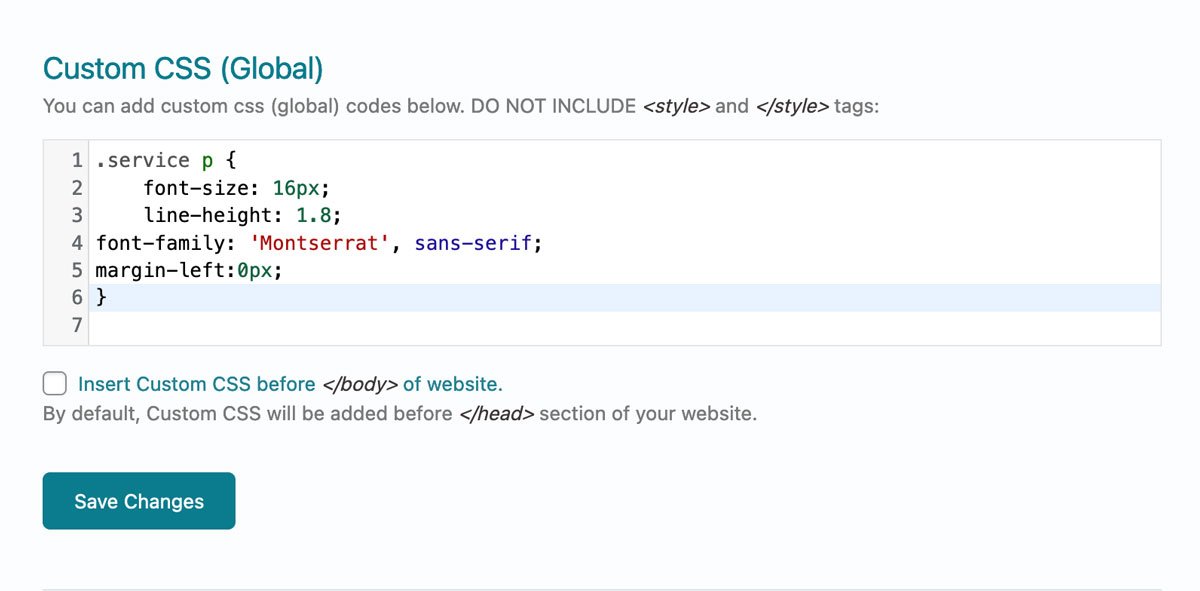
Section 1: Custom CSS (Global)
Here is where you will add custom css codes that will apply to the entire website. If you check the screenshot below, you can see that it is pretty simple to add the code and it has a syntax highlighter feature to align codes better. By Default, the css codes you put here will be added before </head> section of the website. If you want it to be before the </body> section of the website, you can tick the option below. Please note that this section support css codes only.
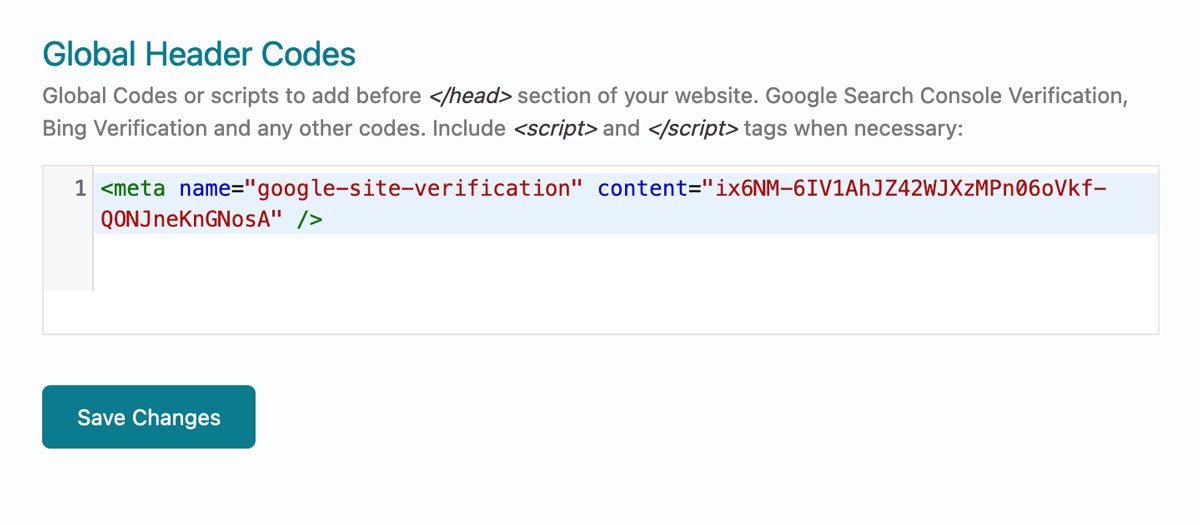
Section 2: Global Header Codes
This is where you will probably add header meta verification codes from Google, Bing etc. You can add any kind of HTML and javascript codes here with proper opening and closing tags. Codes that are saved here will be added before </head> section of the entire website.
Tip: Avoid adding too much Javascript codes here as the browser will wait for the codes to execute before rendering remaining part of the page. If you are dealing with codes that take longer to execute, it is always better to put it before the </body> section of the website.
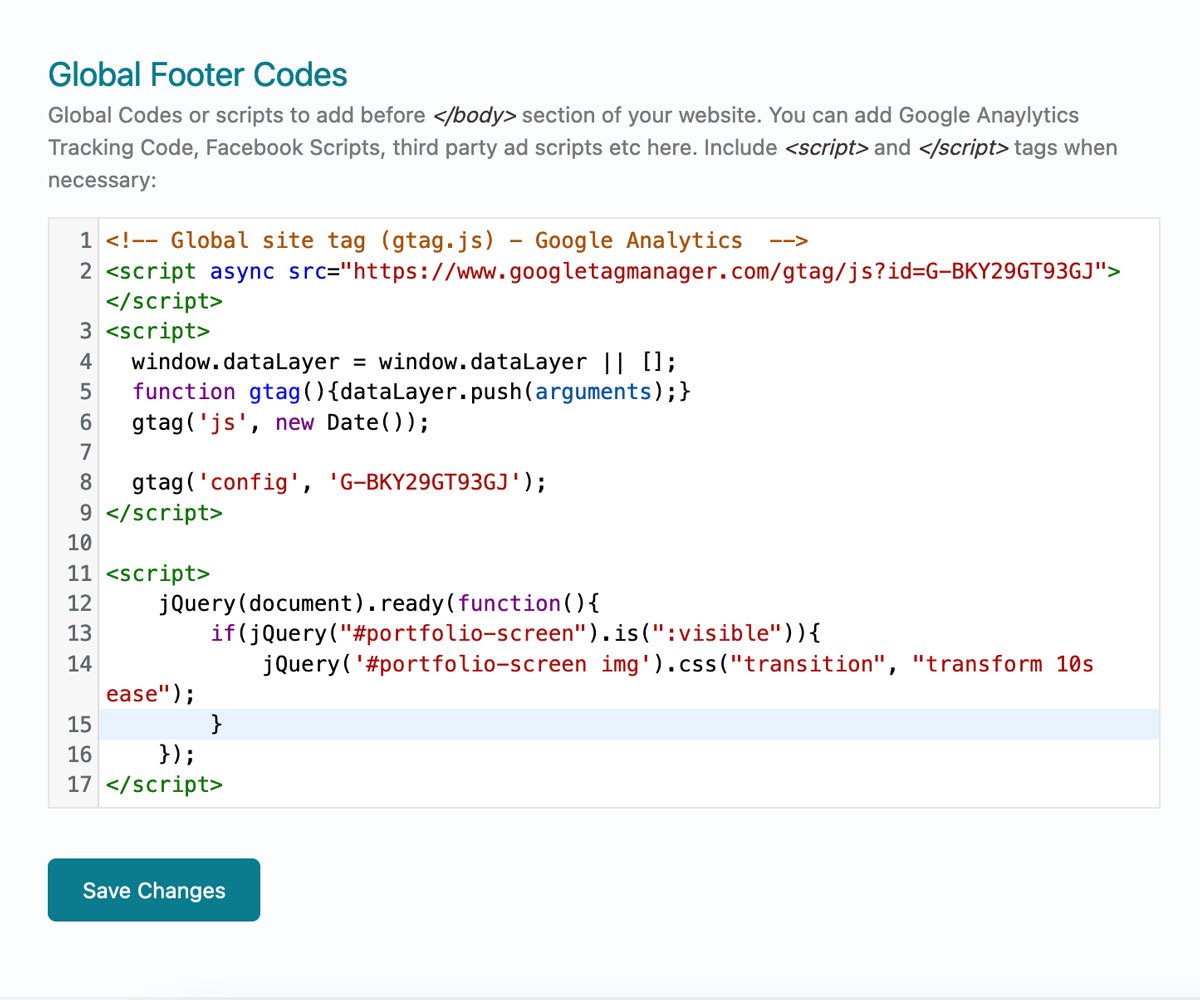
Step 3: Global Footer Codes
This is where you can add HTML or Javascript codes that needs to go before the </body> section of your WordPress website. In the screenshot below, you can see Google Analytics tracking code and a small jQuery code block with proper opening and closing tags. You can also add css codes here with proper <style></style> tags.
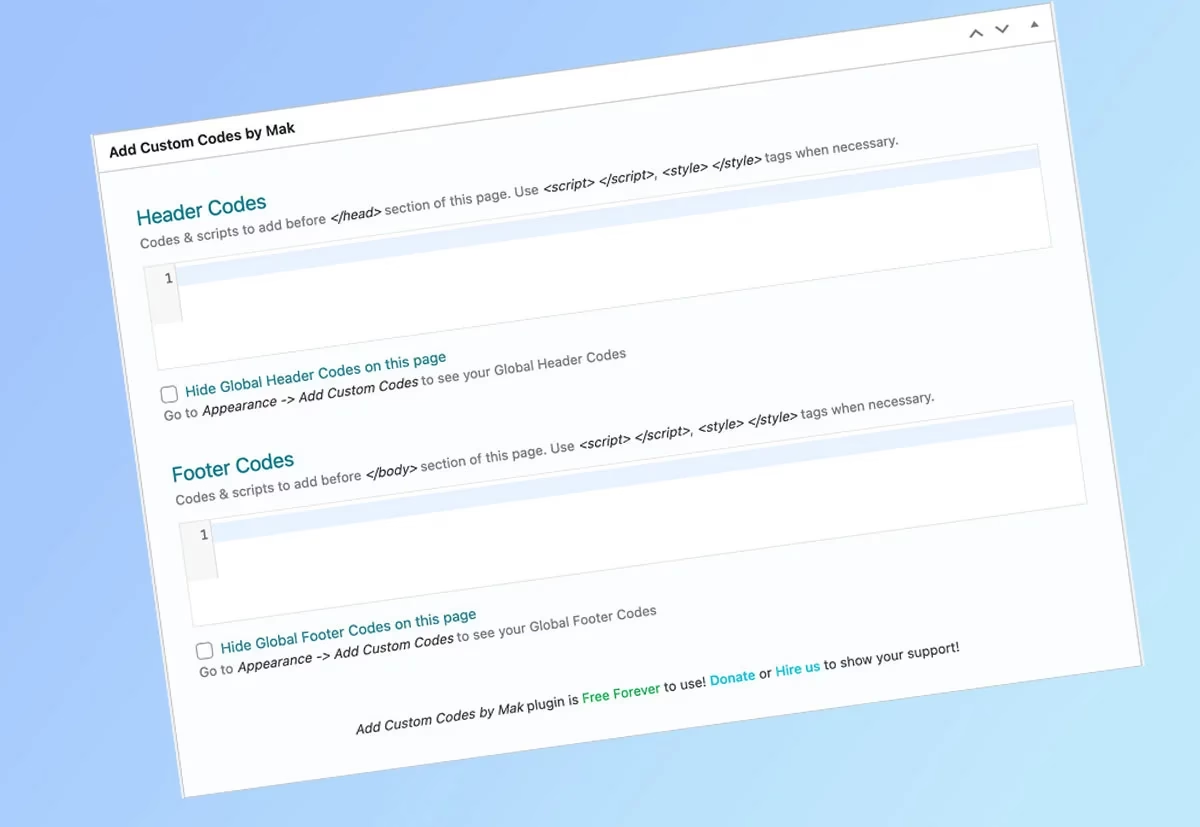
Bonus Feature: Add Custom Codes to Individual Pages or Posts
The plugin has an option to add custom codes to any individual page, post, category, product, or even custom post types! To do this, go to Edit a page or post, and scroll down to see the interface where you can add your custom codes. Pretty Simple!
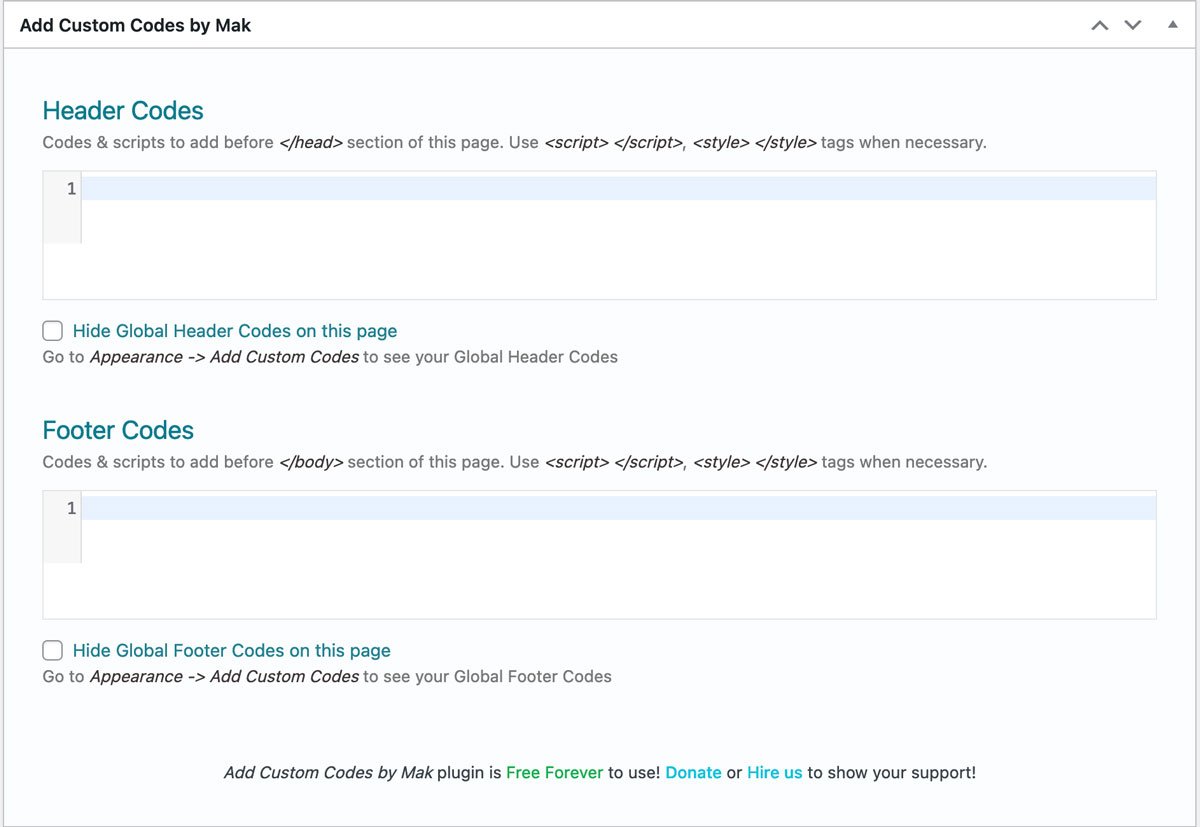
This feature is really helpful as you can add custom codes that are meant to output only on specific page or post you are working on. You can also choose to hide global header and footer codes for that page.
That’s it! You have successfully learned how to add custom codes to your WordPress website. We hope this post helped you.