WordPress is one of the most popular content management systems globally, powering millions of websites. While it offers a lot of features and customization options, sometimes users encounter issues, such as their WordPress website not sending emails. This happens when native php mail() is disabled or having issues on your server. This can can be frustrating, especially if your website relies on email notifications, contact forms, or e-commerce transactions. In this article, I will tell you possible reasons for this email sending issue and a working solution!
How Does WordPress Send Emails Usually?
WordPress, by default, relies on the mail() function provided by your web server to send emails. However, this method can be unreliable for several reasons:
- Server Configuration: Many web hosting providers have strict email delivery policies to prevent spam. This means that emails sent directly from your server may end up in spam folders or not be delivered at all. Some servers disable
mail()function to prevent bulk emailing or limit number of emails being sent from a domain. - Email Authentication: Email authentication protocols like SPF and DKIM are essential for email deliverability. If not configured correctly, emails sent from your server may fail these checks, causing delivery issues.
- Email Deliverability: To ensure reliable email delivery, your server’s IP address should have a good reputation. Shared hosting environments or servers with multiple websites can suffer from poor deliverability due to the actions of other websites sharing the same IP.
- SMTP Authentication: Many email providers require SMTP (Simple Mail Transfer Protocol) authentication to send emails securely. The default
mail()function may not support SMTP, leading to issues with certain email services.
Solution: Use SMTP for Sending Emails
Using SMTP (Simple Mail Transfer Protocol) to send emails in WordPress offers several significant advantages compared to relying solely on the default mail() function provided by your web server. Here are some compelling reasons to use SMTP for sending emails in WordPress:
- Enhanced Deliverability: SMTP servers are configured to follow email industry standards and best practices, making them more reliable for email delivery.
- Authentication: SMTP allows for secure authentication when sending emails. This means that your email server can verify your identity before sending messages, reducing the chances of your emails being classified as spam.
- Better Handling of Large Volumes: If your WordPress website sends a large volume of emails, such as newsletters or transactional emails, SMTP is better equipped to handle these loads efficiently.
- Improved Reputation: SMTP servers from reputable email service providers often have better sender reputations. When you send emails through these trusted servers, your emails are more likely to be accepted by recipient email services.
- Email Tracking and Logging: SMTP services allow for better tracking and logging of email delivery attempts.
- Customization: SMTP configurations offer more flexibility and customization options for your email sending. You can specify custom “From” names and addresses, which can make your emails appear more professional and recognizable to recipients.
- Support for External Email Services: SMTP is compatible with a wide range of email service providers, including Gmail, Outlook, Amazon Ses, SendinBlue, SMTP.com, and more. This means you can use your preferred email service to send emails from your WordPress website, ensuring that your emails are sent through a trusted and reliable platform.
How to Configure SMTP on Your WordPress Website?
I personally recommend using WP Mail SMTP plugin to configure SMTP on your wordpress website. I have been using this plugin for all the wordpress websites we have built and it works really well. Do you know why I started using this plugin? It is very simple to configure. Let’s do it together!
Step 1: Install and Activate WP Mail SMTP Plugin(Free)
If you haven’t already, you need to install and activate the WP Mail SMTP plugin. Here’s how:
- Log in to your WordPress admin dashboard. Go to Plugins –> Add New.
- In the search bar, type “WP Mail SMTP.”
- Find the WP Mail SMTP plugin in the search results, click “Install Now,” and then click “Activate” once it’s installed.

Step 2: Configure WP Mail SMTP Settings
Now that the plugin is activated, you’ll need to configure its settings to use a different email service for sending emails from your WordPress site.
In your WordPress dashboard, go to “WP Mail SMTP” in the left sidebar. You’ll see a screen with various settings. It allows you to configure SMTP services from popular providers like below:
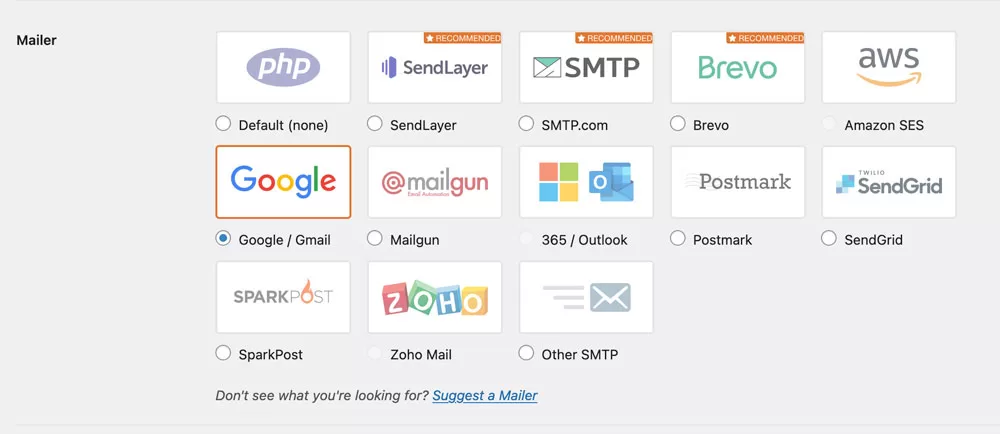
I recommend using Google(Gsuite), Outlook(Office 365) or Amazon SES for this. Do you know why?
- SMTP service is available with Gsuite and Outlook subscriptions.
- Amazon SES is a reliable and affordable SMTP service even though it requires some advance knowledge for first-time setup.
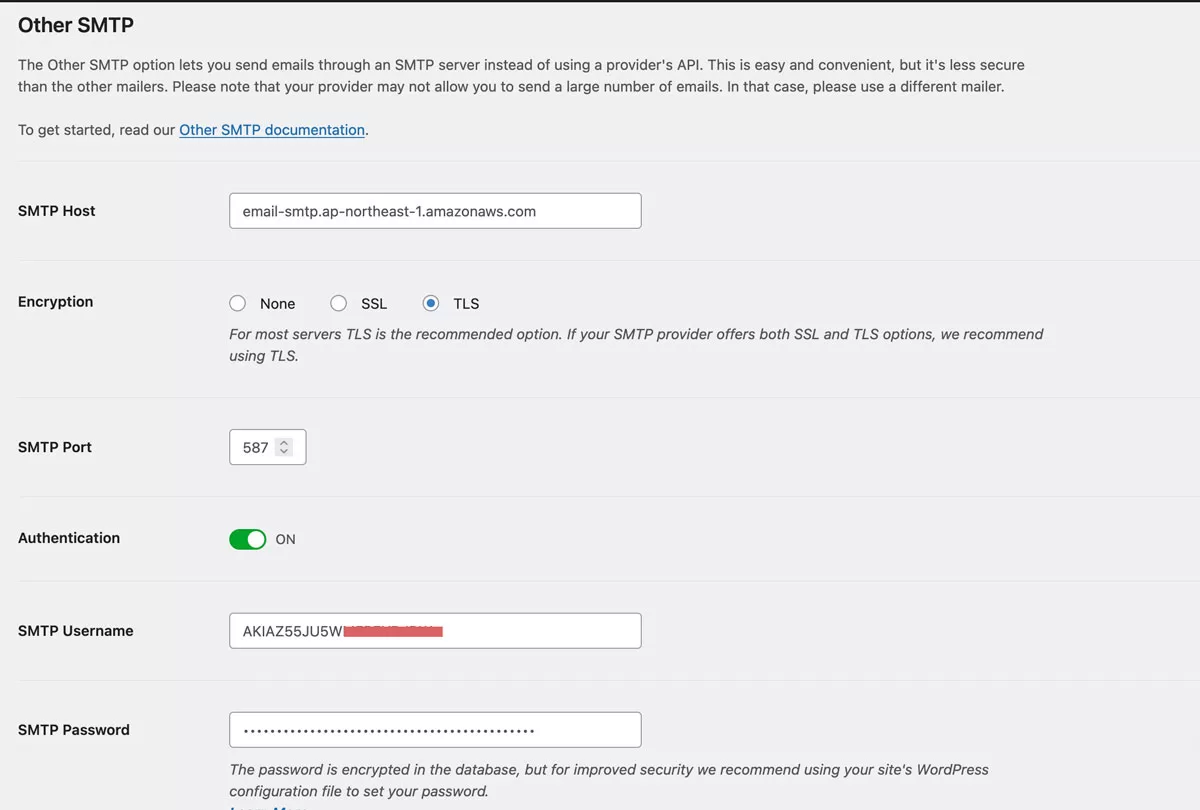
If you are using Gsuite for your email services, you can choose “Google/Gmail” option and it will show you a step by step instruction below. If you try to connect Outlook or Amazon SES directly through plugin, it will ask you to purchase pro version. As a workaround, when I want to use Outlook or Amazon SES, I simply select “Other SMTP” from the list, gather SMTP details from the provider and put them in the fields like below:
Step 3: Send a Test Email
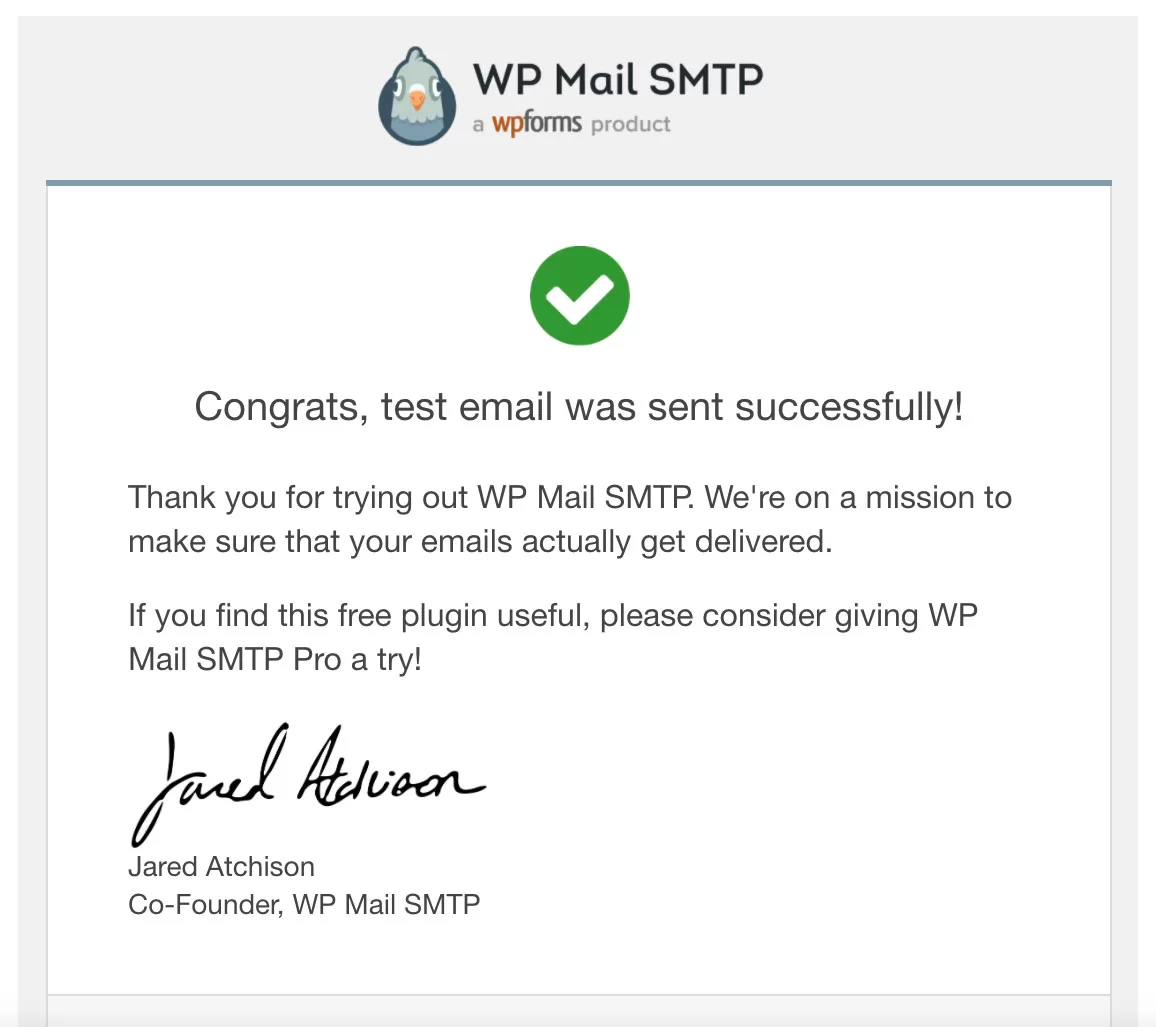
After saving your settings, it’s a good idea to send a test email to ensure everything is working.
- Go to the “Email Test” section on the WP Mail SMTP plugin.
- Enter an email address you have access to in the “To” field.
- Click the “Send Email” button.
You should receive a test email at the specified address! If you do, it means WP Mail SMTP is configured correctly; Eureka! If not, double-check your settings and make sure you’ve entered everything correctly. The test email content should look like below:
Please note that the exact settings and options may vary depending on your email service provider and hosting environment. Always refer to the specific documentation provided by your email service for the most accurate configuration details.
How can you keep a log of Emails being sent from WordPress?
Now that you have configured SMTP properly, how can you keep a history/log of emails being sent? WP Mail SMP plugin has this feature but with an upgrade. Oh oh, Do not do that! There is another workaround 🙂
- Log in to your WordPress admin dashboard. Go to Plugins –> Add New.
- In the search bar, type “WP Mail Logging”
- I usually use below plugin for this. click “Install Now,” and then click “Activate” once it’s installed.
The plugin does not need any configuration; so easy to use! In fact, you are keeping 2 plugins instead of 1, but who cares if you can save some money? 😉 And free wordpress plugins like this will help us maintain our wordpress websites with ease.
Once you have installed the plugin, go to “WP Mail Logging –> Email Log” and you can see a detailed log of emails being sent from your wordpress site.

Yay, it was that simple! I hope this post helped you fix the WordPress email sending problem. If you need any more help regarding this, you can hire us!